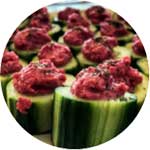
Recipes
Our new cookbook, Retreat Eats, is now printed and ready to ship! It’s been a labour of love creating it!

Many of the meals we cook on our retreats have been created as recipes in our ‘Retreat Eats Cookbook’! You can now order this online and have it shipped directly to you.
Here are some of our recipes which have been listed in our cookbook and posted on our blog.
For more vegetarian recipes visit:
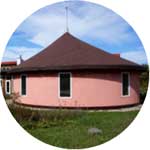
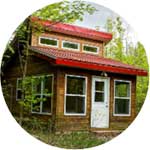
The Centre
Welcome to Sugar Ridge! It is our mission to provide a space for you to be nourished in body, mind and soul. From completely silent to dip your toe, testing mindfulness, we have what you’re looking for!