×
Retreats
Upcoming Retreats
Yoga
Meditation
Eat Well
Well Being
Gift Certificates
Corporate Retreat Packages
Stay With Us
Accommodations
Book A Private Stay
What To Bring to enjoy your retreat!
Pet Policy
Our Facility
Deposit & Cancellation Policies
Private Cabin Getaways
Garden
Meals
Plant Based Food Philosophy
Local Attractions & Restaurants
Corporate Meetings
About Us
About Us
Our Mission & Philosophy
Environmental Practices
FAQ’s
Testimonials
Blog
Gallery
Retreat Eats Cookbook
Create Your Retreat
Getting Here
Upcoming Retreats
1-866-609-1793
Retreats
Upcoming Retreats
Yoga
Meditation
Eat Well
Well Being
Gift Certificates
Corporate Retreat Packages
Stay With Us
Accommodations
Book A Private Stay
What To Bring to enjoy your retreat!
Pet Policy
Our Facility
Deposit & Cancellation Policies
Private Cabin Getaways
Garden
Meals
Plant Based Food Philosophy
Local Attractions & Restaurants
Corporate Meetings
About Us
About Us
Our Mission & Philosophy
Environmental Practices
FAQ’s
Testimonials
Blog
Gallery
Retreat Eats Cookbook
Create Your Retreat
Getting Here
1-866-609-1793
Upcoming Retreats
Change blog category
Meditation
Mindfulness
Recipes
Retreats
Uncategorized
Recipes
Quinoa Salad with cranberries and lime
15/01/2025
Recipes
Asparagus Risotto
17/11/2024
Recipes
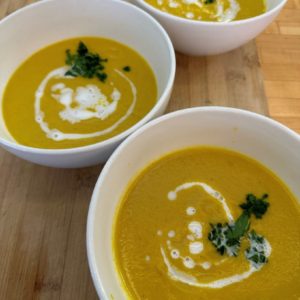
Carrot Ginger Soup
01/11/2024
Recipes
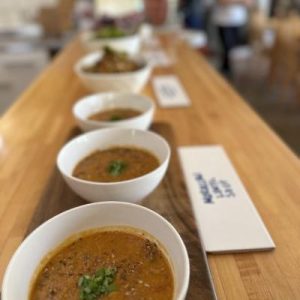
Lentil Soup Moroccan Style
27/08/2024
Recipes
Sweet Potato Salad
20/07/2024
Recipes
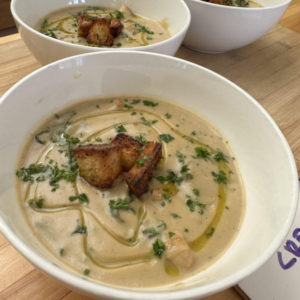
Quick Cauliflower Soup
01/04/2024
Recipes
Coconut Squash Soup
01/03/2024
Recipes
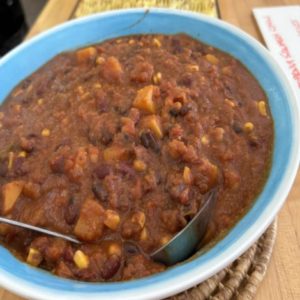
Butternut Squash Chili
28/01/2024
Recipes
Peanut Stew
14/03/2020
Recipes
Add Some Maple Sweetness to Your Life!
12/03/2020
Recipes
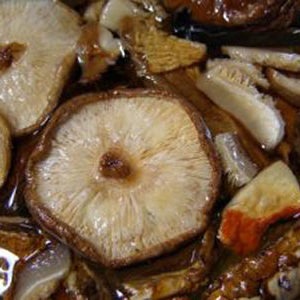
Tofu-Mushroom Heaven
29/02/2020
Recipes
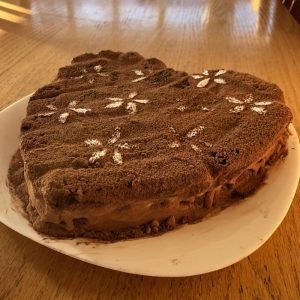
Vegan Tiramisu
14/02/2020
1
2
3
…
5
»
Contact Form Button
Get in Touch
[contact-form-7 404 "Not Found"]